Supported Features
The Okta/Emeritus SAML integration currently supports the following features:
- SP-initiated SSO
- IdP-initiated SSO
For more information on the listed features, visit the Okta Glossary.
Creating a configuration
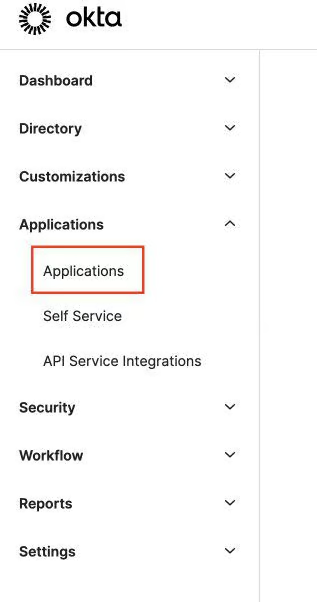
In the left sidebar, navigate to Applications => Applications:
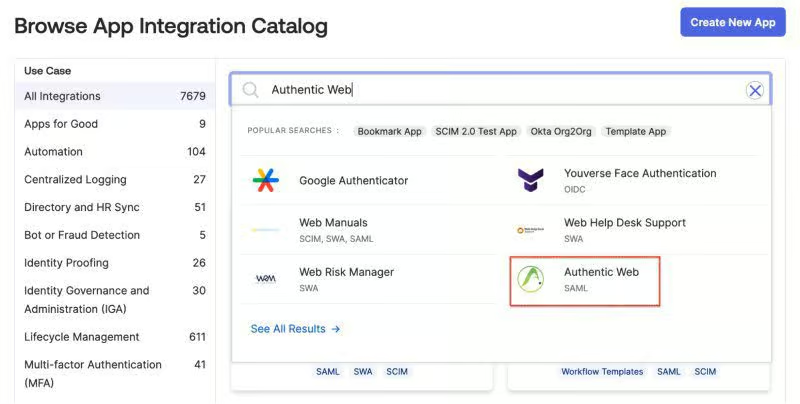
And then click the Browse App Catalog button.
Find "Authentic Web" application through search input field.
Hit Add Integration button, finish with clicking Done button.
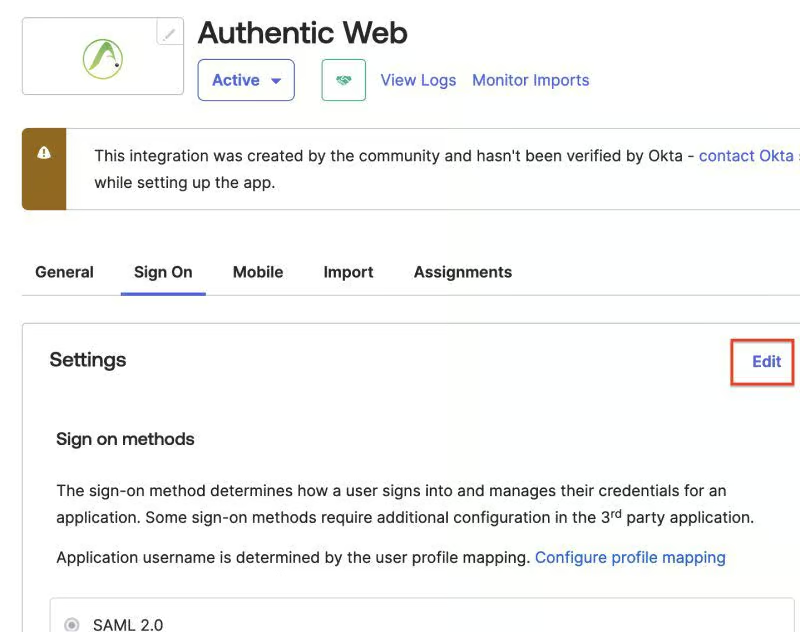
After adding app integration we need to set up a Client ID, so navigate to the Authentic Web application page => Sign On tab. In the tab hit the Edit button.
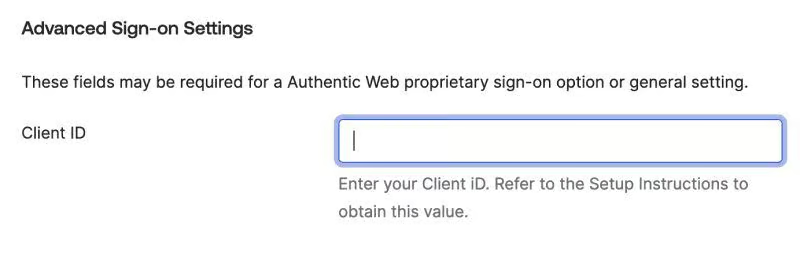
When in Edit mode, navigate down to section Advanced Sign-on Settings. There we have an input field for Client ID.
How to get a Client ID value?
Contact support@authenticweb.com for the value of the Client ID, and please provide metadata URL of the created Authentic Web okta application which can be found in the Sign on methods section on the Sign On application tab.
Metadata URL will look something like: https://xxxxxx.okta.com/app/xxxxxxxxxxxx/sso/saml/metadata.
What to do if you have trouble setting up an Okta application?
If you have any trouble setting up an Authentic Web SAML okta app, please contact support@authenticweb.com and we will be happy to help you.